

Fixing microwave buttons not working
A microwave that suddenly stops responding to user commands can appear completely useless, but in many cases, the failure is surprisingly simple. What looks like an electronic fault deep inside the control board often turns out to be nothing more than a minor issue in the keypad. The following describes, step by step, how a non-responsive microwave was repaired, explaining both the practical procedure and the electrical principles behind each component involved.
The failure
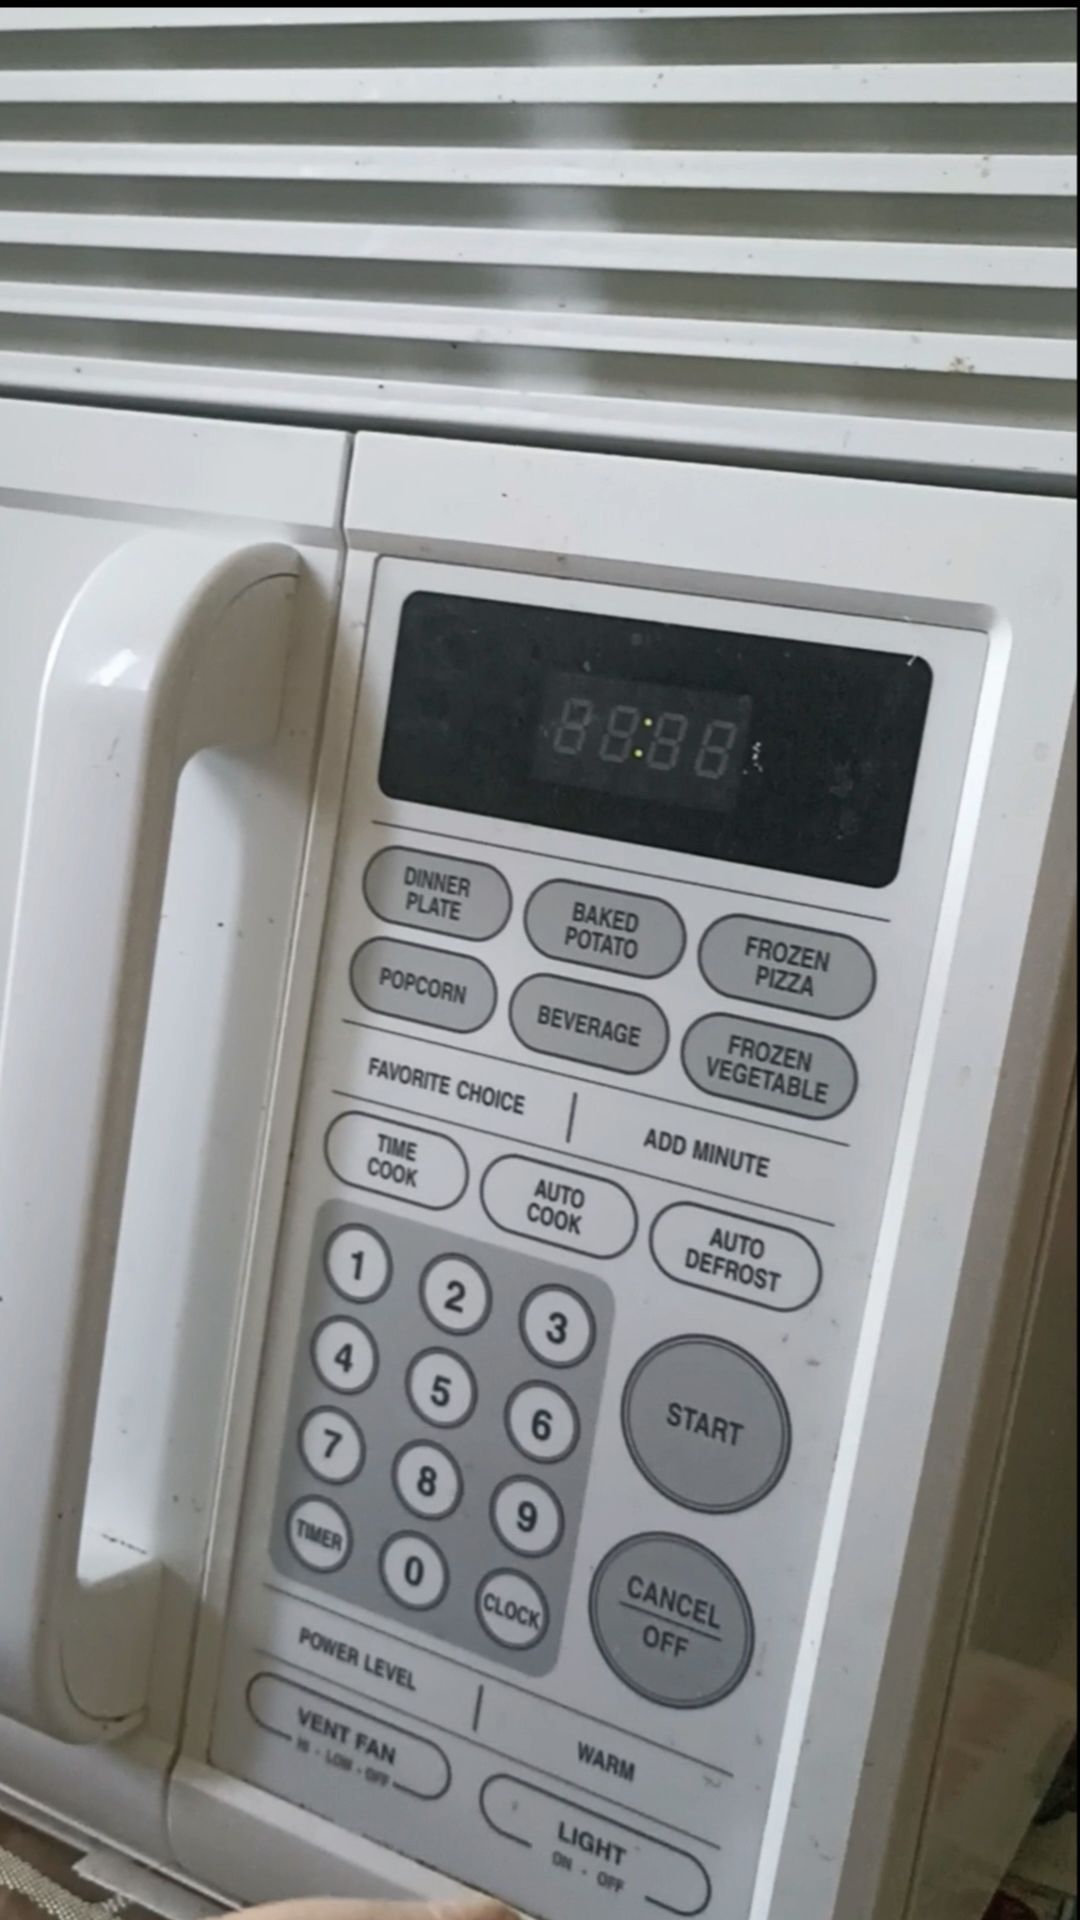
The microwave had been working normally until one day the keypad began to ignore commands. At first, the problem was intermittent: sometimes a press would register, sometimes it would not. Eventually, the keyboard stopped responding altogether. The user could not start or stop the heating process, add time, or select any program. Even unplugging and reconnecting the appliance made no difference.
When a microwave becomes unresponsive, there are usually two possible sources of failure: the keypad itself or the main control board. Because the malfunction developed gradually, the first assumption was contamination. Cooking vapors often carry microscopic droplets of fat or aromatic compounds that can deposit on internal surfaces and create weak conductive films. In theory, this could interfere with the keyboard’s signal lines. However, a closer inspection would soon show that this was not the case.
Getting inside the microwave
Before opening any microwave, one critical warning must be stated: the high-voltage capacitor inside can retain a lethal charge even after the appliance is unplugged. Anyone attempting internal work must discharge it properly with a resistor-based tool and avoid direct contact with high-voltage sections.
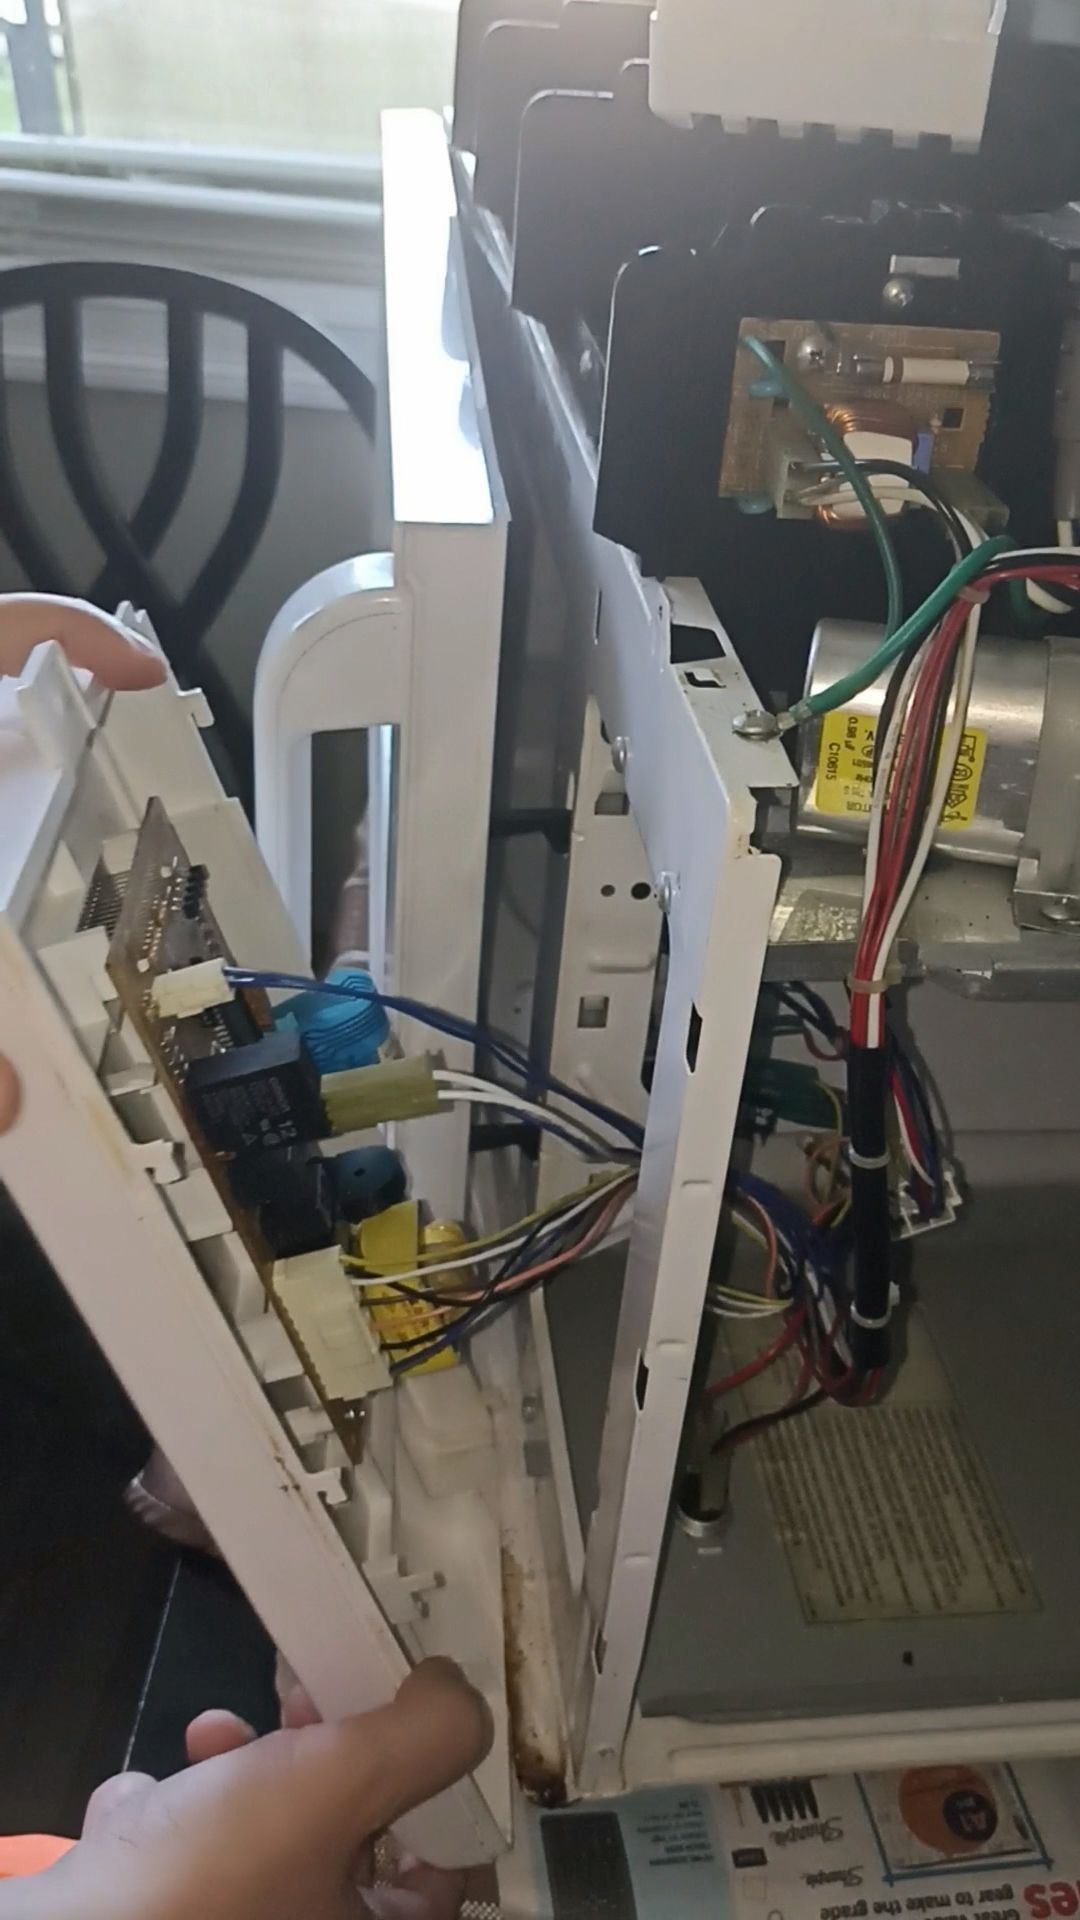
Once the protective cover was removed, the internal layout of the device became clear. Several key components immediately stood out.
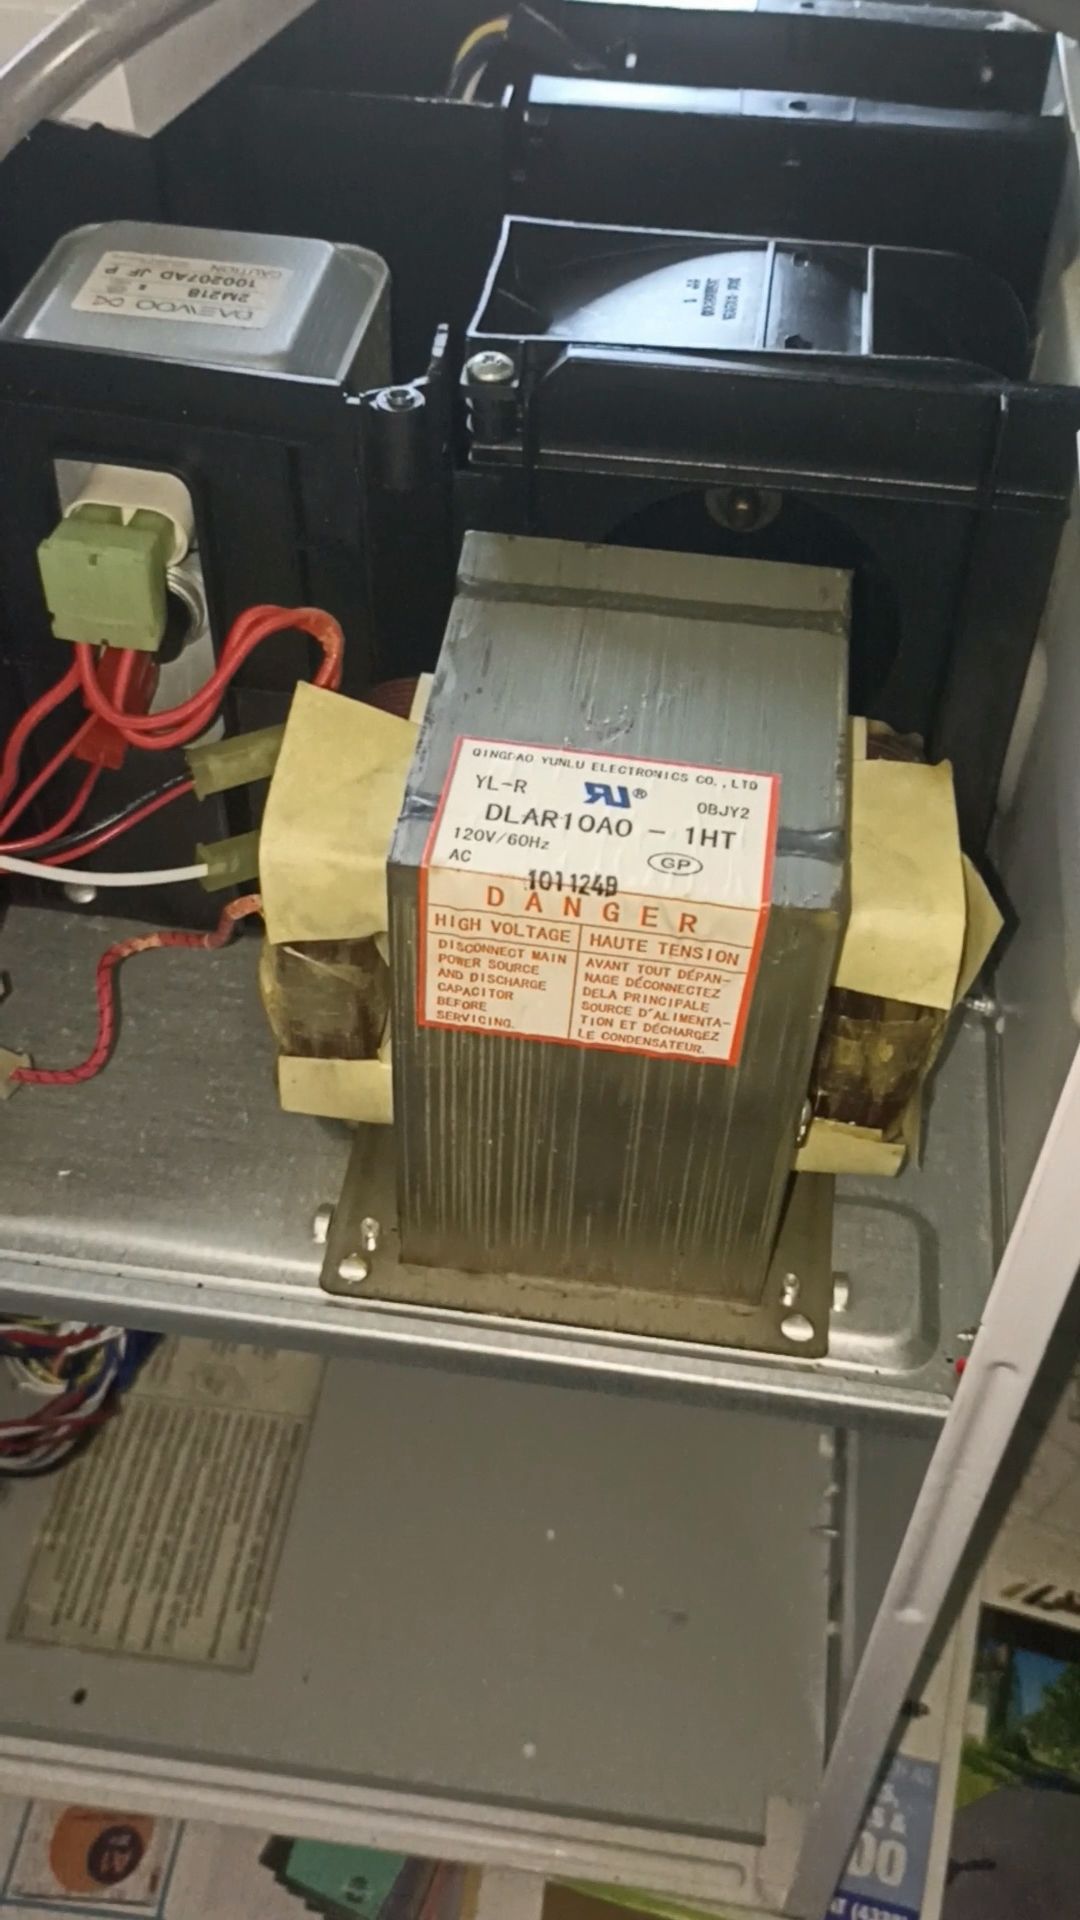
High-voltage capacitor: a large elliptic component that stores energy for the magnetron’s power circuit. It acts as both a reservoir and a stabilizer for the high-voltage DC feeding the magnetron.
Above the capacitor a board with noise filter and fuse is located. This assembly protects the unit and electrical system of the house from voltage spikes and electrical interference. Both were visually intact and functionally fine.
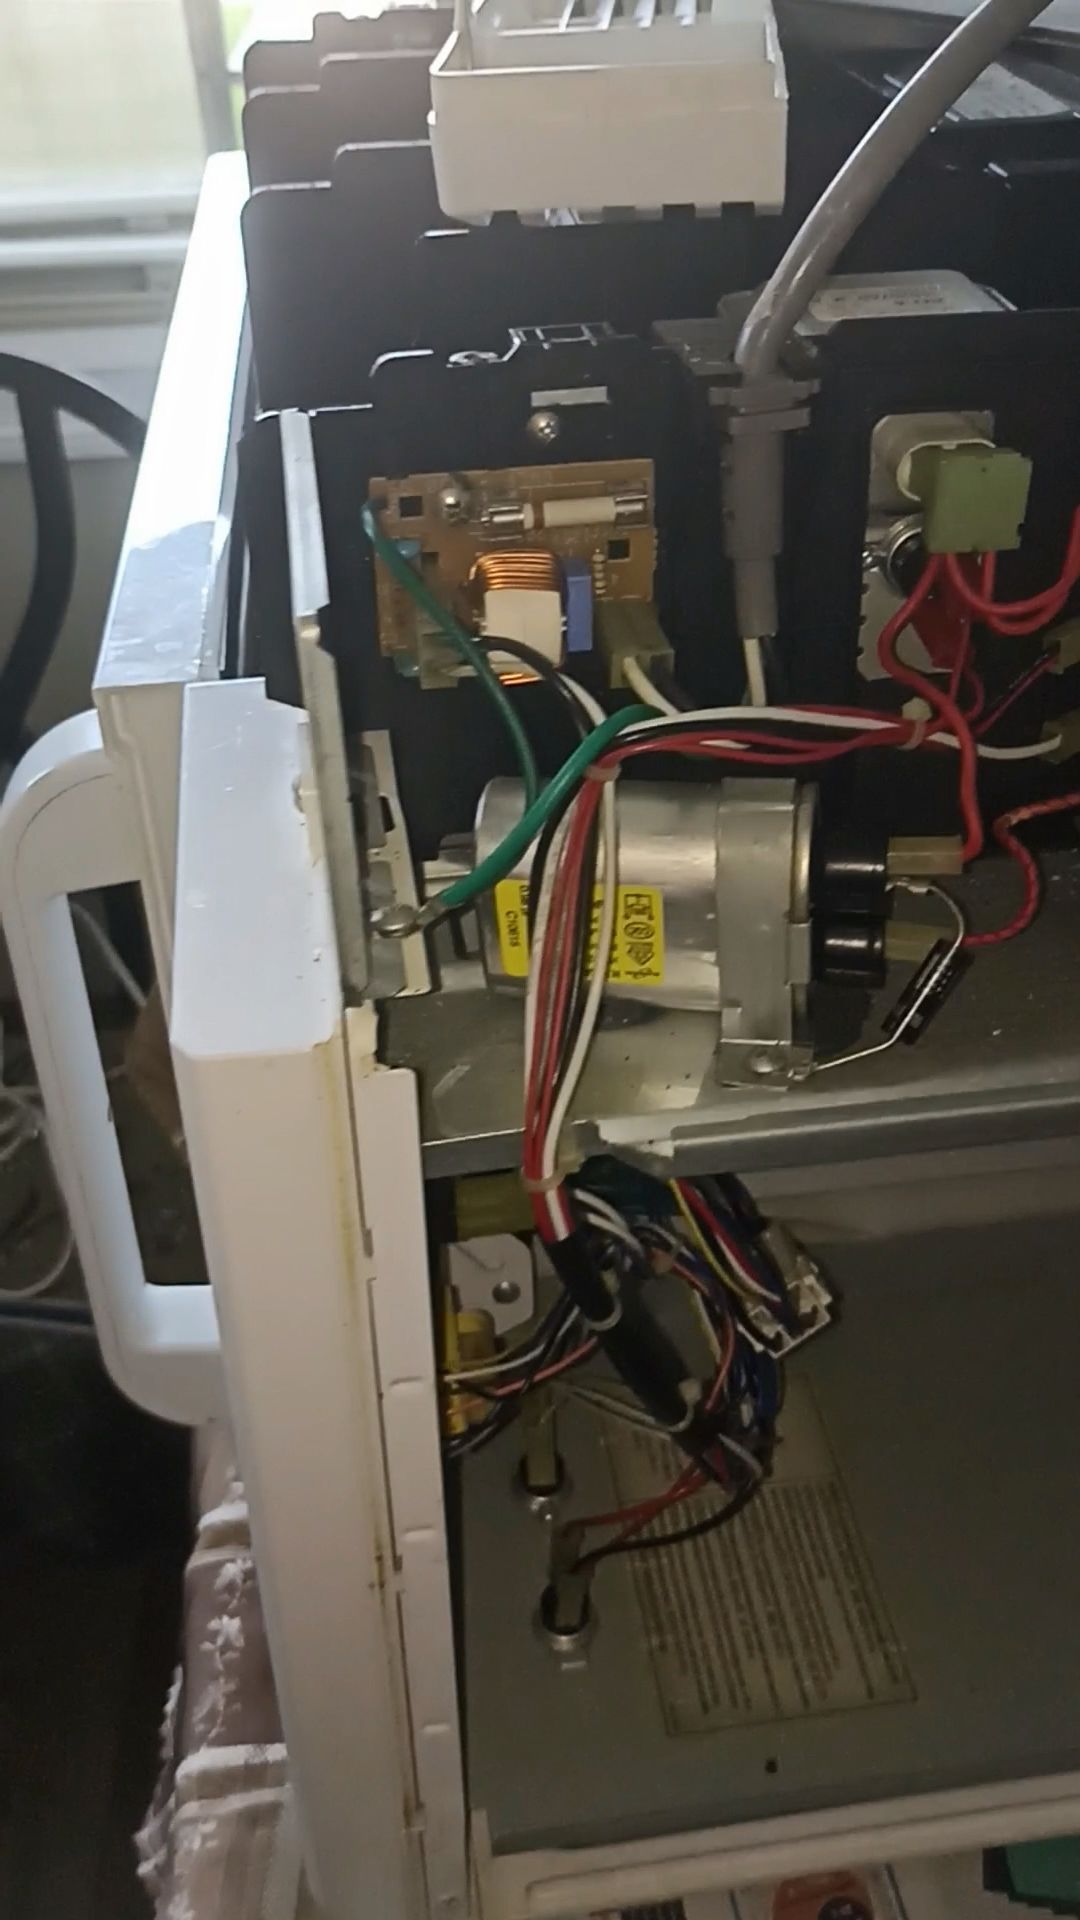
Magnetron, located at the left part on the image below, is the central element that generates microwave radiation. It converts high-voltage electrical energy into electromagnetic waves that have the frequency close to the resonance frequency of water molecules. When anything that contains water is placed within this radiation field, water milecules start consuming energy and increase their molecular brownian motion. The aplitude of this motion is observed by us as heat. Heated water starts heating the food.
Magnetron is supplied by high-voltage transformer: a heavy iron-core transformer beside the magnetron. It steps the household voltage (110 V or 240 V depending on your region) up to several thousand volts required for microwave generation.
Positioned below the high-voltage section, the control board is the brain of the microwave. This low-voltage electronic module processes all user commands, controls timing, drives relays, and manages the display.
With the high-voltage components appearing healthy, the focus moved naturally to the control system.

Examining the control unit
The control unit can be removed without dismantling the entire appliance. One screw at the top secures it in place. After opening the microwave door, the panel can be slid upward to release the latches. All connectors must then be carefully unplugged.
Investigating the keypad
The keypad and control board are joined together in a compact module. Removing four small screws allowed the board to separate from the front fascia, making it easier to diagnose by allowing keys to be presses alongside the access to connector pins.
To verify whether the keyboard was producing any electrical signal, a multimeter was set to continuity mode (also known as diode or “beeping” mode). This setting allows the detection of any closed circuit between two points.
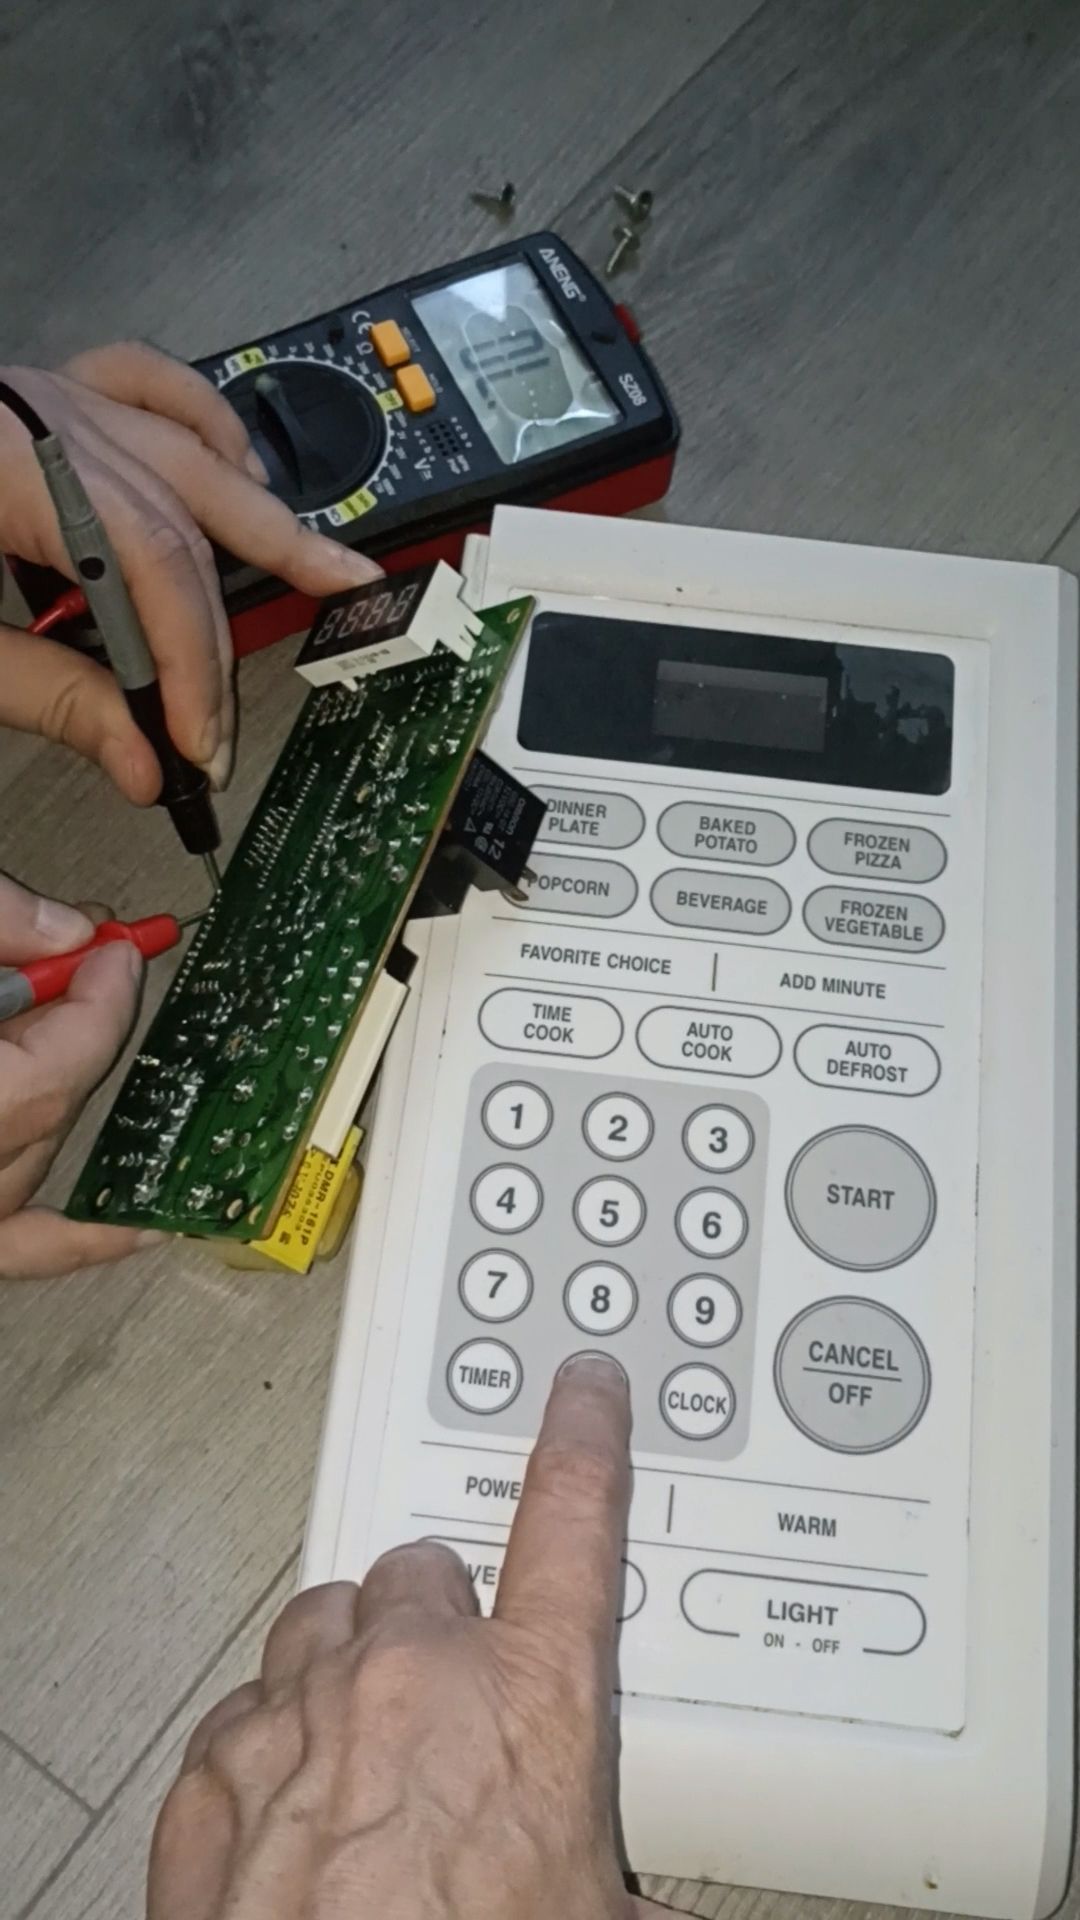
Testing was simple: one probe of the meter was placed on a pin of the keyboard connector, and the other probe was moved across the remaining pins while pressing some one button. A functioning key would create a closed circuit, triggering the multimeter’s beep. In this case, none of the keys produced a signal, confirming that the keyboard was not completing any circuit paths.
Restoring the microwave keypad functionality
In this case, the repair required no replacement parts. It was only necessary to slightly move layers of the keypad to restore conductivity.
Using a thin, blunt blade, the upper film was gently lifted to release tension and allow the layers to settle back into proper alignment. Once reseated, the film was pressed evenly across the surface to ensure consistent contact.
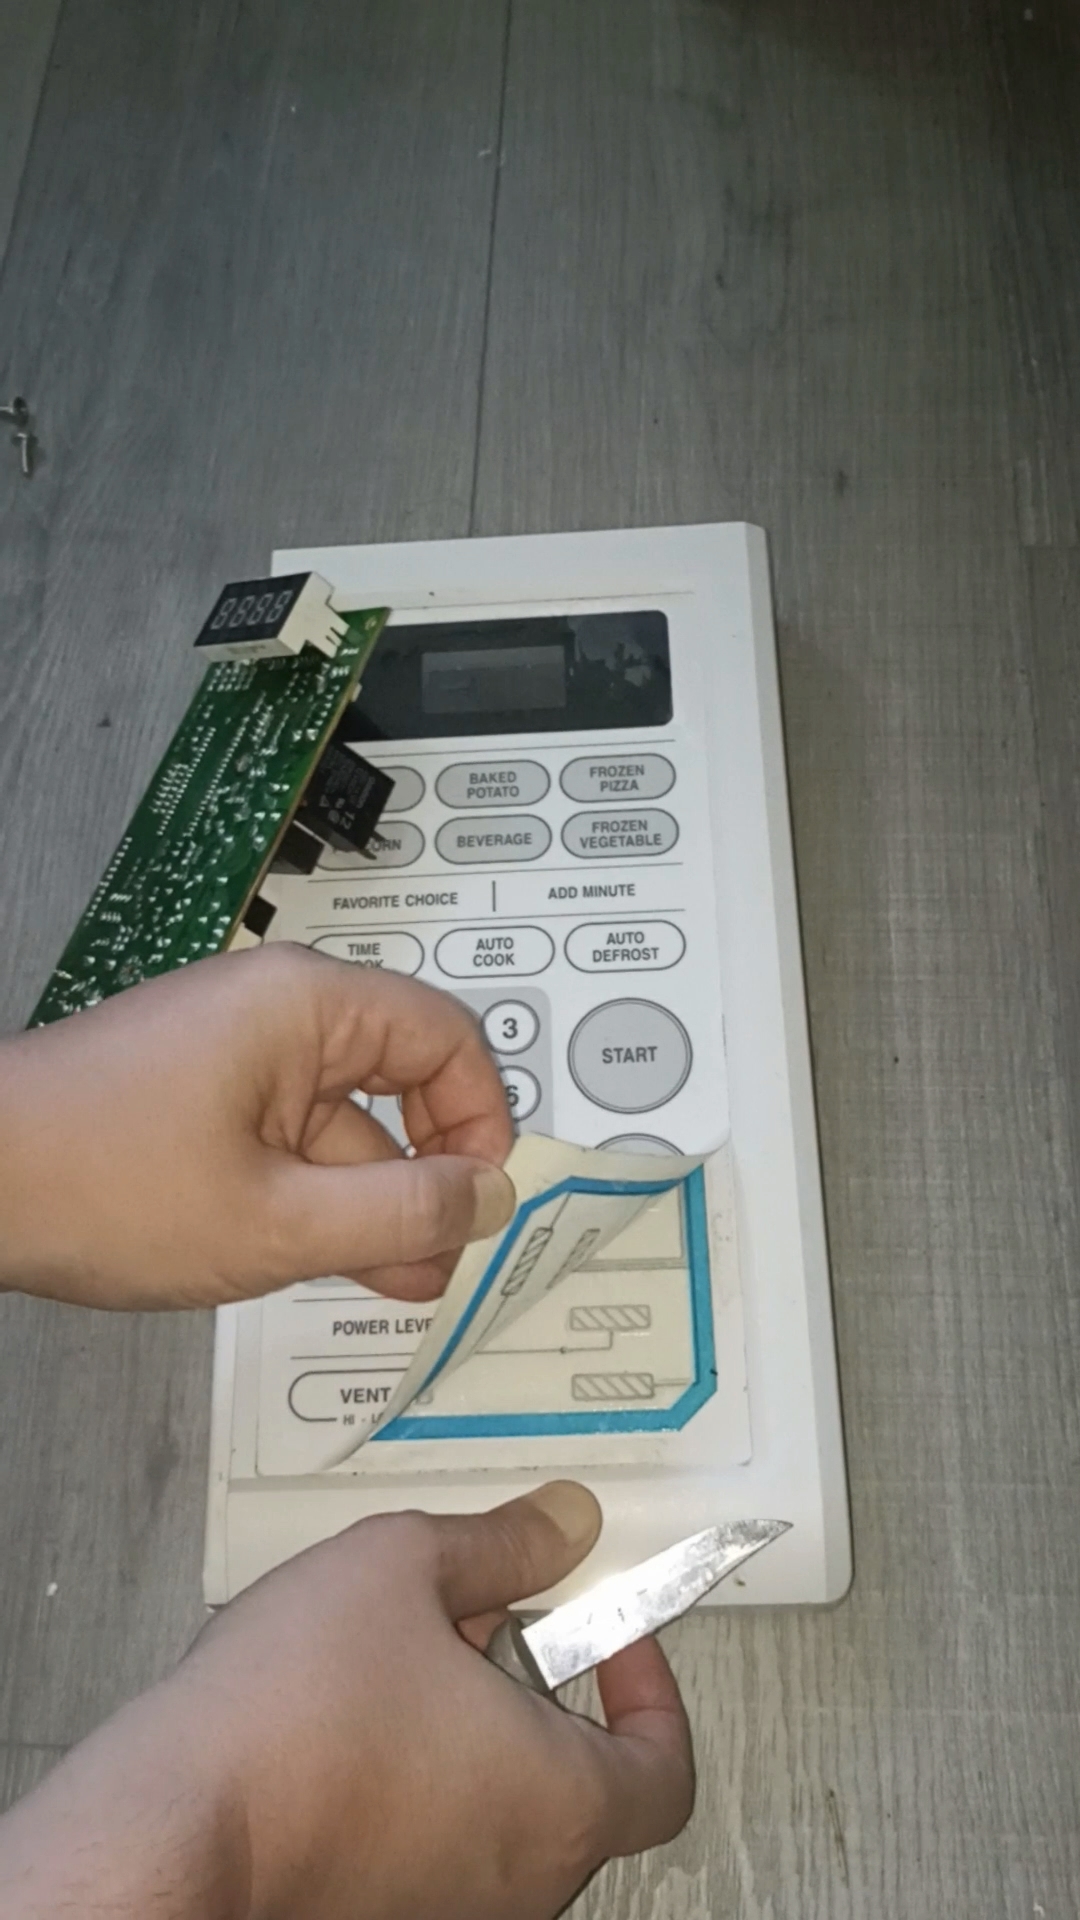
No cleaning solutions or adhesives were used - only careful handling. The aim was to restore the natural spacing between membranes.
Most modern microwaves use membrane keypads, also known as film keyboards. They are light, reliable, and inexpensive, but they depend entirely on perfect contact between thin layers with fragile graphite conductive traces.
A typical film keyboard consists of three main layers:
- Top film: a flexible polyester sheet printed with conductive graphite pads. Each pad corresponds to one button on the panel.
- Spacer layer: a non-conductive sheet with cut-outs under each key. This keeps the two conductive films apart when no pressure is applied. IN this microwave the glue layer was used as a spacer layer.
- Bottom film: another polyester layer printed with conductive traces forming the keyboard matrix, connected by a flat ribbon cable to the control board.
When a button is pressed, the upper film bends slightly and its graphite pad touches the lower trace through the opening in the spacer. This closes an electrical path between two points in the matrix. The control board continuously scans the matrix for such closures and interprets them as specific key presses.
Over time, mechanical wear, static electricity, or minor separation between the layers can prevent proper contact. In some cases, the films may even stick together unevenly, or graphite traces flake, breaking the electrical connection. This mechanical delamination is one of the most common reasons for key failure in appliances that otherwise work perfectly.
Testing the fixed keypad
The keyboard was retested using the same multimeter procedure. This time, several keys produced an immediate and clear continuity audio signal and a red indicator light on multimeter, meaning that the internal contacts were once again completing the circuit. The keypad had been successfully revived.
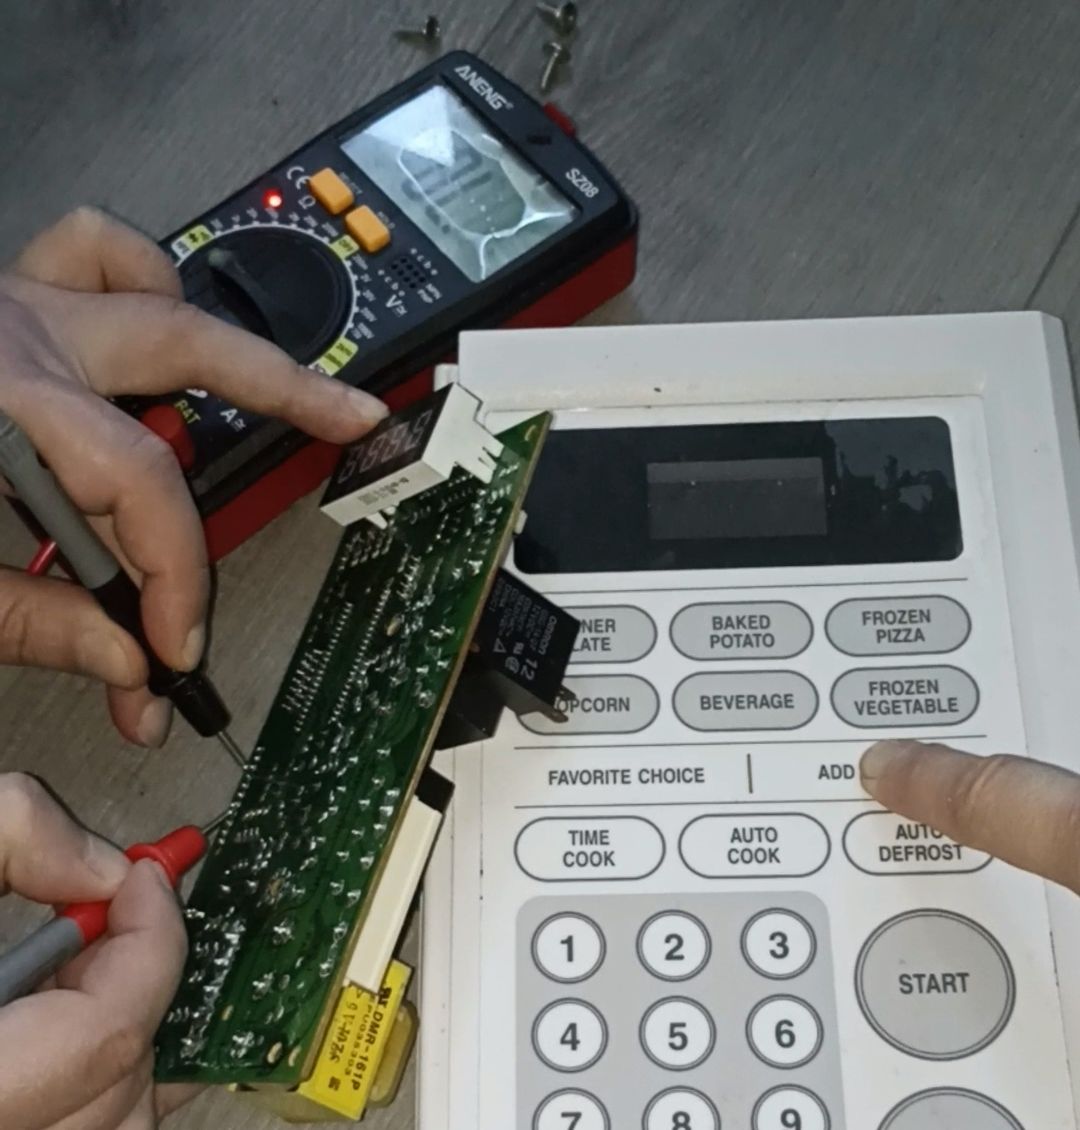
After reconnecting the wiring and reinstalling the panel, the microwave was powered on. All buttons responded instantly. The unit could now start, stop, and adjust cooking programs as designed.
Conclusion
This repair was ultimately straightforward - the actual fix took seconds once the fault was understood. The failure was not in the electronics, not in the power circuits, and not due to contamination. It was a purely mechanical issue in the membrane keyboard’s graphite film layers.
A careful, methodical approach restored full operation to the microwave without replacement parts, saving a functional home appliance from turning into e-waste, and saving money for the owner.