
The default Magento 2 offers great functionality for any e-shop, but to provide true personalization for your business needs, you must also use third-party extensions. By using such modules, you can optimize your shop’s speed, increase sales and revenue, retain customers, improve safety and much, much more.
Modularity of Magento 2 is its core feature, which allows you to change the vital parts of your eCommerce store, which suggests that any Magento 2 store owner should learn how to install, update, activate and deactivate extensions in his or her e-shop.
This article elaborates in detail where to get a Magento 2 module, how to install it, and how to manage it after installation.
Prerequisites
A best practice is to install and test an extension in a development environment before deploying it on the production shop. Magento installations hosted on Commerce Cloud require an extension to be installed in a Magento development environment before being pushed to production. Please note that this article doesn’t include the specifics of the upgrade for Magento hosted on Commerce Cloud.
Check PHP version
Verify that the PHP version installed on your server meets the requirements, which are listed on Magento DevDocs System requirements page.
In your Magento installation folder, execute the command php -v and make note of your PHP version.
If the PHP version is compatible with your Magento version, you can execute commands starting from bin/magento.
When the php -v command shows an error or incompatible PHP version, then you need to explicitly call the PHP interpreter when running Magento commands. Without the explicit call, you may receive a PHP Parse error: syntax error, unexpected ')' when executing command bin/magento.
To make an explicit interpreter call, it is often sufficient to add phpX.X to before any command bin/magento. Replace phpX.X with the installed PHP version, for example, php 7.4.

Sometimes to make an explicit call, it is necessary to specify the full path to PHP installation folder.
Consult with your system administrator to get details on the installation peculiarities on your server. If possible, ask the administrator to configure the server so that the interpreter call php was linked to the compatible PHP version.
In this article, the installed version of PHP is 7.3, so the commands are executed as php7.3 bin/magento.
Magento backup
Before installing extensions and updates on the production shop, it is strongly recommended that you make a backup.
When trying to execute the built-in Magento backup command php7.3 bin/magento setup:backup --code --media –db, you will receive a fail message:
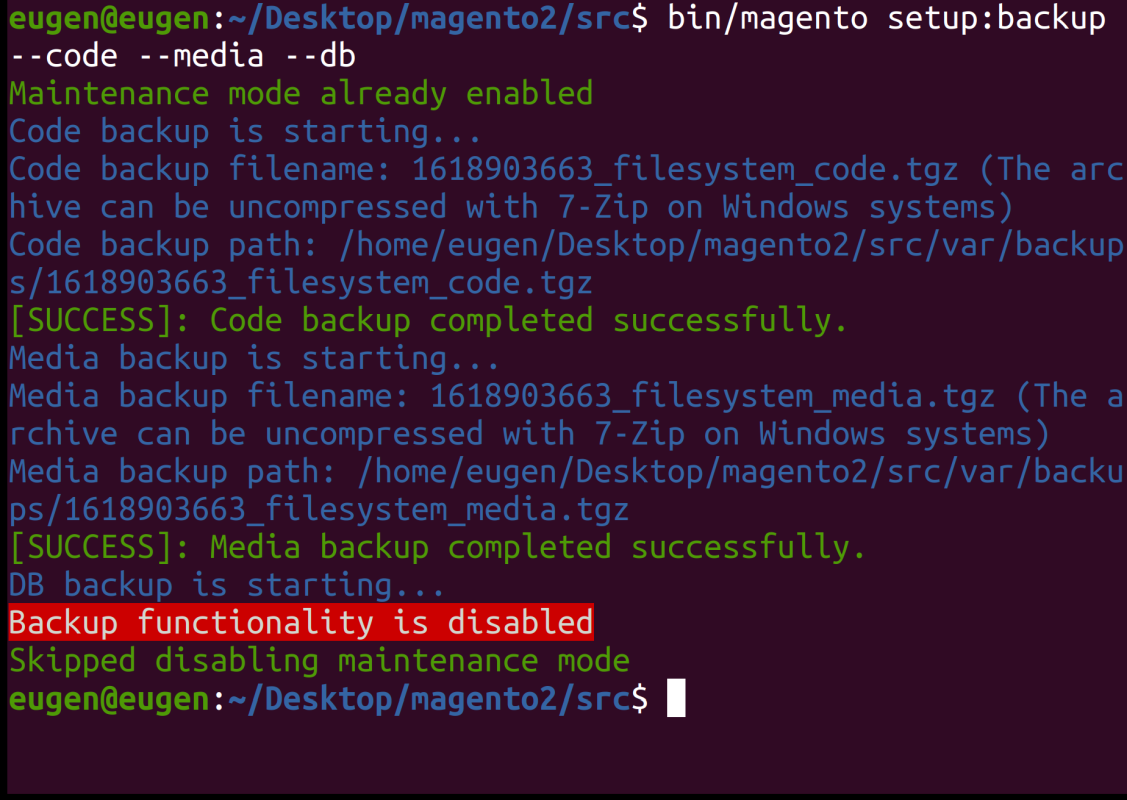
Magento depreciated built-in tools for making backups since version 2.3.0, and advises merchants to investigate third-party backup tools.
Manual Magento backup
As a temporary solution you can make a manual Magento backup. Simply navigate to the Magento installation folder and copy its files and media to a backup disk.
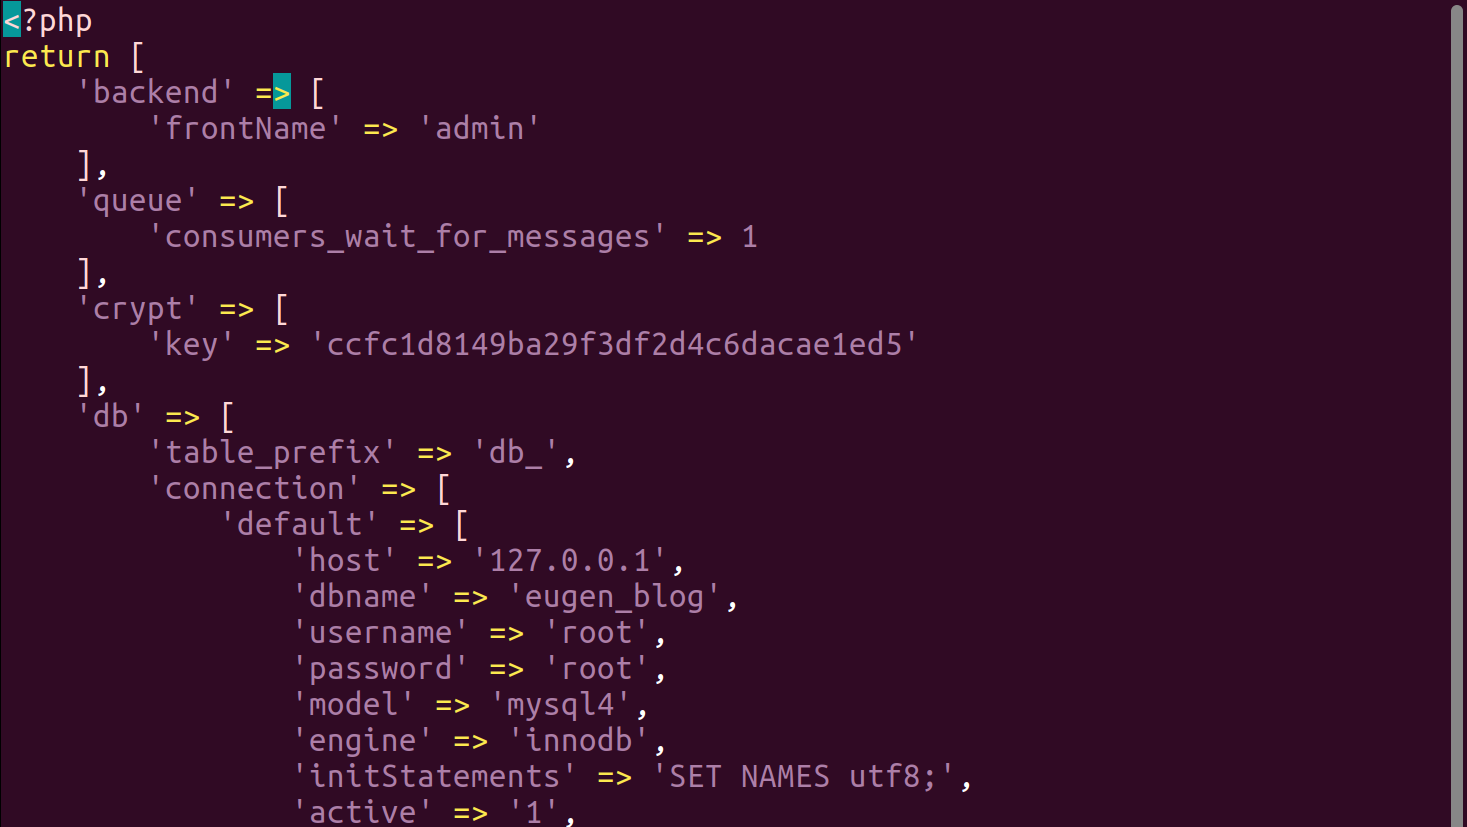
Using command line navigate to your Magento folder and execute command cat app/etc/env.php to access the file with database connection information. Take a note of parameters for host, dbname, username, password.
Make a backup of your Magento store database using command line interface:
mysqldump -u root -p database_name > database_name.sql
When connecting to the database on a remote server, use the command mysqldump --host=name -u root -p database_name > database_name.sql
For example, your database name is warmer 241, then the backup command will be mysqldump -u root -p warmer241 > warmer241.sql. The backup file warmer241.sql will be located in current directory.
Copy the SQL file to the backup disk. Once you have the database backup SQL file, you can restore the database with a command:
mysql -u root -p -D database_name < database_name.sql
For the full mysqldump reference, refer to the manual of your relational database management system. For MariaDB management system, read the documentation on mysqldump.
Depending on the size of your store and data volume, the backup and restoration processes may take a some time.
Enable maintenance mode
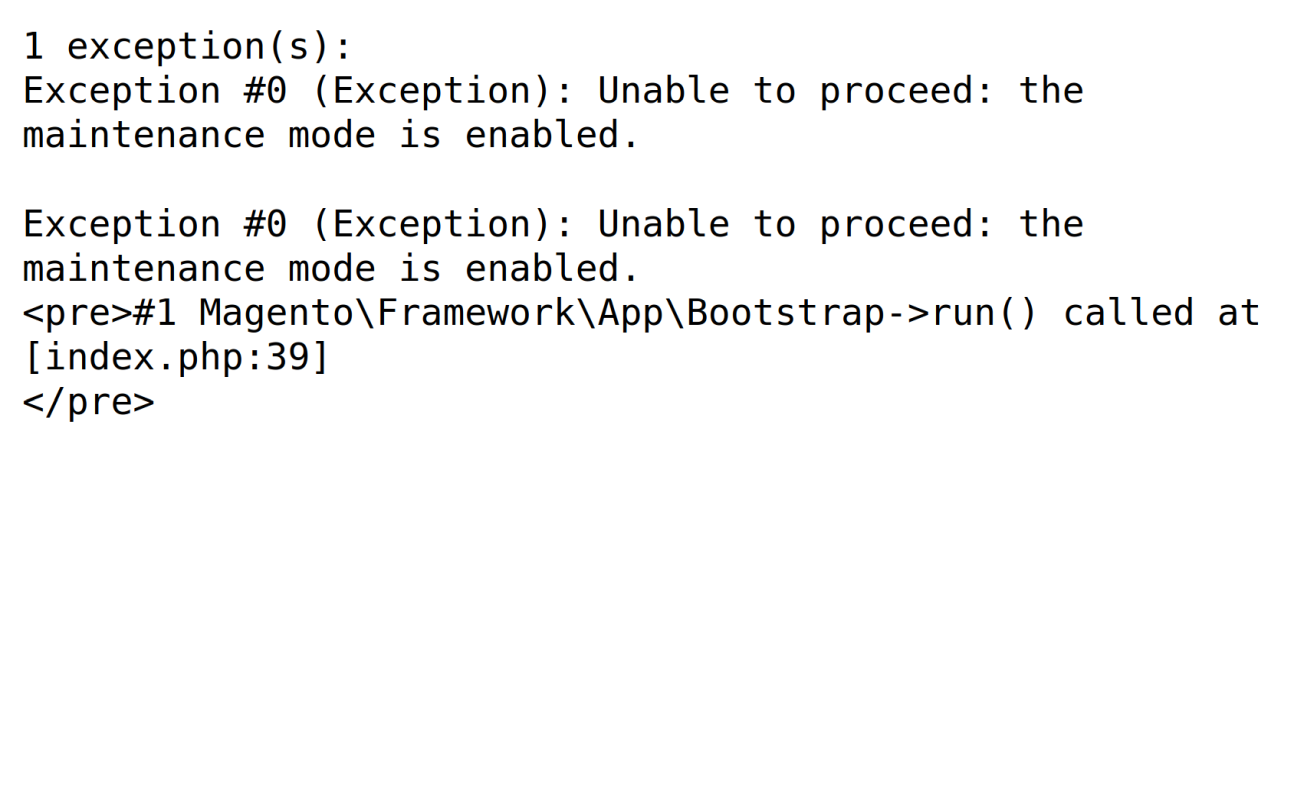
During the upgrade your site stays accessible to customers. This can cause problems for users who try to access the component which is being upgraded, so it is advised that you activate maintenance mode. Read the full information on maintenance mode on Magento DevDocs.
The maintenance mode is helpful while you are maintaining, upgrading, or reconfiguring your site.
Enable the Magento maintenance mode with the command:
php7.3 bin/magento maintenance:enable
To disable maintenance mode, execute:
php7.3 bin/magento maintenance:disable
During the time of maintenance, the Magento store will display the maintenance page to all visitors. To be accessible for an administrator, make an exemption for the particular IP address with the command:
php7.3 bin/magento maintenance:enable [--ip=<ip address> ... --ip=<ip address>] | [ip=none]
The list of exempted IP-addresses will be saved for later use. To clear it, execute php7.3 bin/magento maintenance:enable --ip=none.
You can create a custom maintenance page that is more aesthetically pleasant than the default maintenance page. Refer to the Magento DevDocs.
Where to get a Magento extension
Magento supports extending its functionality with several types of third-party components, and most common among them are three types of extensions:
Modules which extend Magento capabilities and customize its behavior
Themes which change the look and feel of pages that are visible to your customers and admin panel
Language packages which help to localize your store to a particular language
Search and purchase any of those types in such places as:
Magento marketplace. It is an official website for the Magento ecosystem, where Adobe reviews extensions before being published.
Packagist. A most common method of Magento extension installation is via the software tool named Composer, and Packagist is its default repository. You can check out the free extensions here.
Magento developer store. An official Mirasvit website is a store for Magento 2 and Magento 1 extensions.
Downloading extension on Magento Marketplace
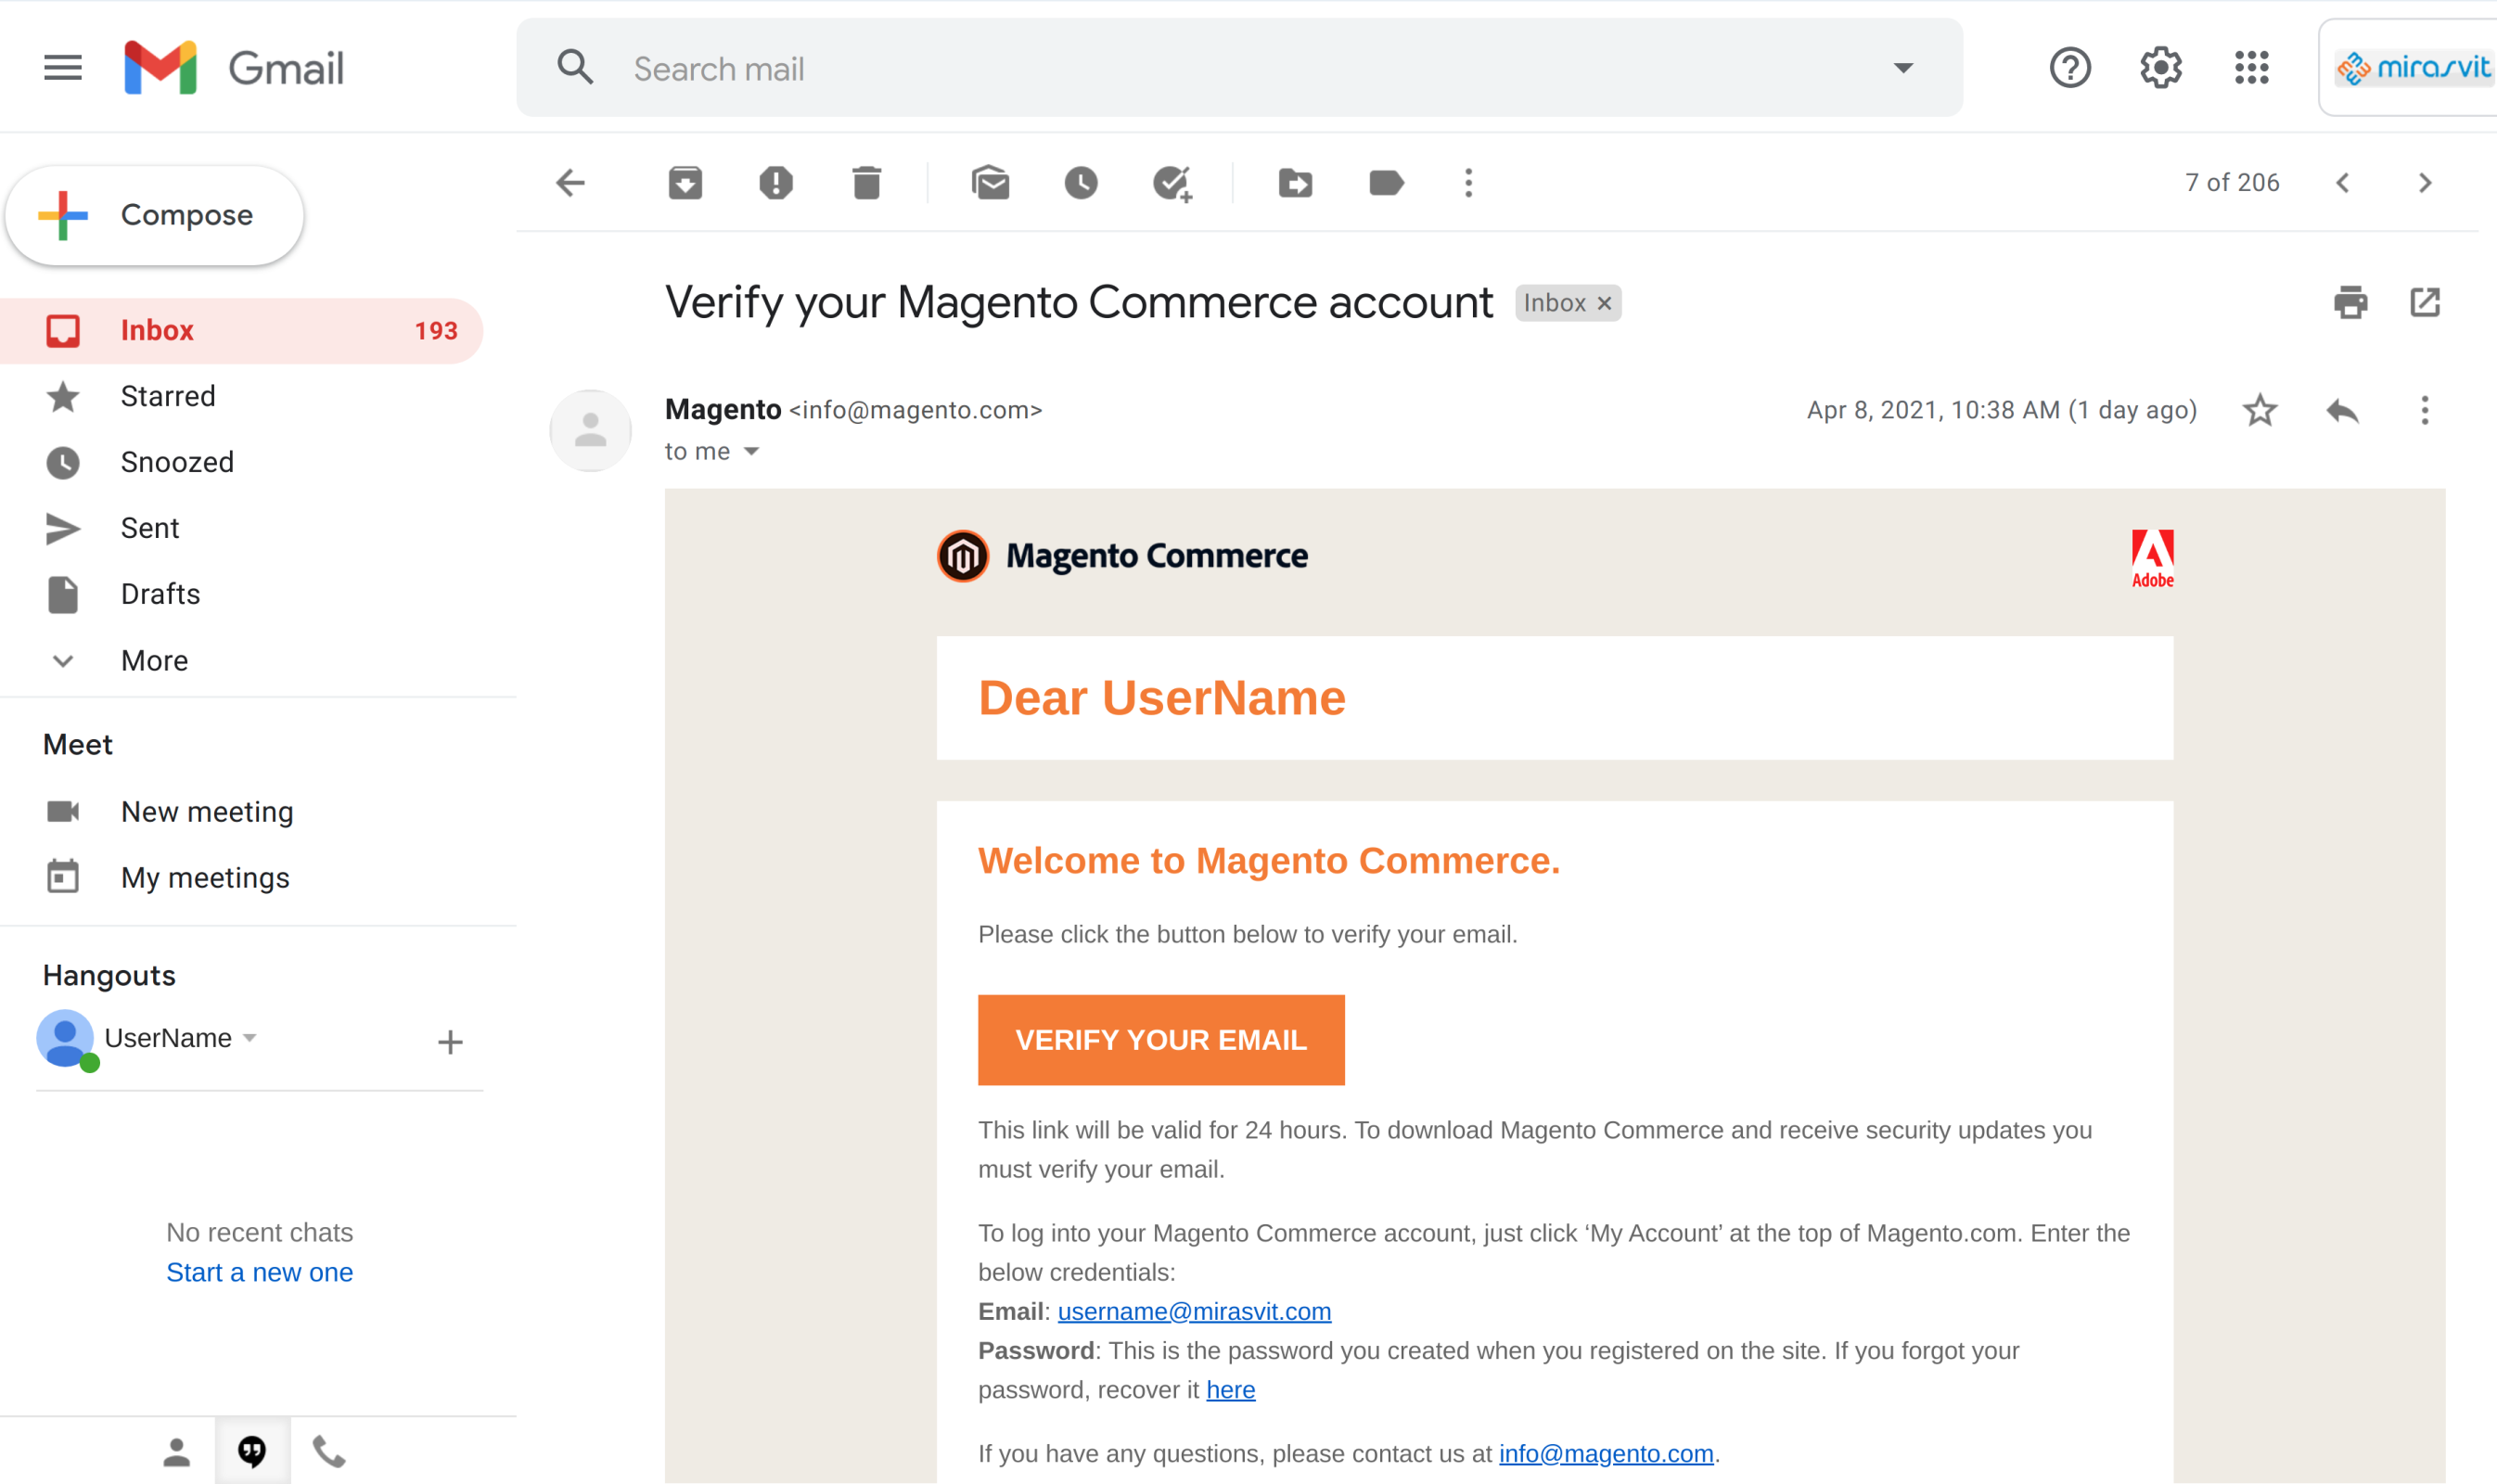
To get an extension from Magento marketplace you’ll need to create an account for it first. Simply fill in all the required information regarding you and your company, and verify the new account by clicking on the link in the e-mail.
After that, return to the Magento marketplace and log in to it if you weren’t automatically logged in.
Find the extension you need and buy it – you’ll need to specify the Magento version your store uses. When finished purchasing, click on your user name and select link My Profile. On the profile page, click on My Purchases to see the purchased extensions.
